Mountain Rose Herbs is having a giveaway!

Have you ever wanted to learn more about herbs and natural cleaning products? Look no further than Mountain Rose Herbs! I’ve only just heard about it, but a few friends shop there and they have nothing but great things to say about them. And guess what! They’re having a GIVEAWAY!!

You can win everything pictured above by simply entering here. You can get up to 5 separate entries. How awesome is that?

Posted in Notes from Contessa | Leave a comment

Homemade Christmas Ornaments!

In Loving Memory of Xay Camacho-Hendrickson, 1997-2011

I’ve been thinking a lot about family and gifts for Christmas the past month or so. Then November 18th, my mother’s friend tragically lost her 14 year-old son, and right before the busy holiday season. My heart broke, and after attending the memorial, I quickly realized that the holidays are a time for family and the most important thing about gift giving is why you give rather than what you give.

On another note, I’ve never liked the effect “Black Friday” has on people or the fact that people get seriously, sometimes fatally, injured for the season’s hottest new toy or a new flat screen. This year, I’m focusing on what matters: family.

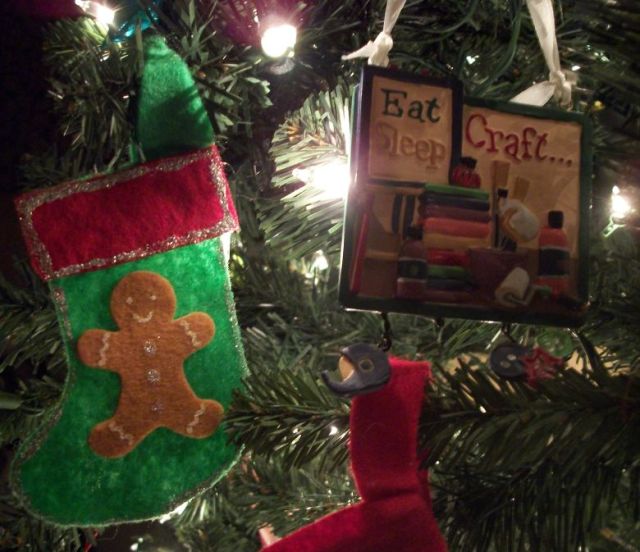
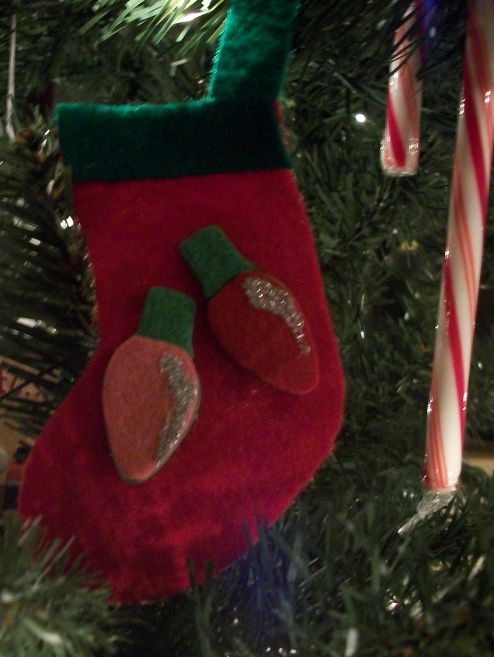
If you know me of have read any of my other blog posts, you know that I adore my nephew, Jaden. He’s my favorite little guy and he means the world to me, and we love making things together! We came up with a simple ornament that we could make to give to family and friends this year, and we had a blast making them. 2-D Felt stockings. It started when I saw the felt holiday stickers at Joann’s last year. I picked up some gingerbread people, penguins, Christmas lights and snowmen. These are so cute and ‘real’ looking that I can’t tell you how many people have tried to open them. Plus, they fit nicely into Christmas cards!

What you’ll need:

  • Sheets of felt- about 4-10, each sheet makes about 6 stockings
  • Holiday Felt Stickers
  • Hot Glue & Glue Gun, or Elmer’s glue
  • Glitter glue (optional)

We started by making a template of a stocking on paper, I tweaked it until I got just the right shape that I liked, then we traced and cut out a sock shape on the felt and we got about 6 stockings per sheet. We used the scraps from the felt to make the accents and loops.

Then I cut the top “fold”  (where a real sock/stocking would fold over) and loop out of a contrasting color of felt. If you’re using red as your sock shape, use white or green to contrast. The way I glued them together is top ‘fold’ on top of the sock shape and the loop simply glued to the back. You can sandwich the loop between the top ‘fold’ and the sock, but it may make the corner look lumpy.

After you have those glued into place, you can put the stickers and glitter accents on. If you like, you can even glue on felt pieces to make a contrasting toe and heel on the sock.

When we were done, Jaden picked out a special one for each family memeber, his mom, dad, sister, each grandparent and himself. He was so excited to show everybody what we had made!

Posted in Holidays | Tagged , , , , , , , , , , | 1 Comment

Current Project: Homemade Christmas Tree Decor

I’ve been working hard on coming up with cohesive designs for my Christmas Tree decor series coming up. It’s a lot harder than I thought, and it seems my body is having a harder time adjusting to the changing seasons (all I want to do is lay in bed all day watching Hallmark) I’ll be working hard to come up with the first post asap! I’m going to be working on ornaments, a tree skirt and tree topper. Sound good? Lovely.
-Contessa

Posted in Uncategorized | Tagged , , , , , | Leave a comment

These Are A Few Of My Favorite Things

I felt like making a post that would help you get to know me a little better, what better way than sharing a few of my favorite things? There are few things in life that make me swoon, most of them are seasonal. Let’s get started!

Betsy ❤

Betsy, my antique Singer sewing machine. She just turned 70 in June and is still running. I got her from my Aunt, who I guess got Betsy from her neighbor and had in her basement/garage for years. Lucky me, huh? 🙂

"One Little White Pumpkin" by Sweet Anne

Non-Traditional Pumpkins-The look of a chubby little orange face on the stoop makes me smile every time, but I’m always wowed by painted fake pumpkins or professional pumpkin carvers, have you seen Halloween Wars on Food Network? A-maze-ing!

Autumn Colors- Deep oranges, purples, maroon, all of the colors that scream “Let’s cuddle by the fire.”

Emilie Autumn- Described as sounding like “the best cup of English Breakfast spiked with cyanide and smashed on your antique wallpaper” she’s got style and chutzpah. I love how she modernizes and makes Victorian-style sexy. Also, she’s got a set of pipes on her and violin skills what would put (insert uber-famous violinist here) to shame! I am heavily influenced by her and the lovely lady next on the list.

Image from PaulinaApril's photostream on Flikr

Contessa Montebello- She’s a creative woman who makes oils, scents and make-up. I borrowed the “Contessa” name from her seeing as she is a major inspiration to me. It makes me want to do more herbal crafting and more oils. I’m very interested in making soaps, oils and other health and beauty products, I just haven’t gotten around to it yet.

That’s me in a nutshell. I may release another nutshell post later on, but I tend to be forgetful. I’ll try my best to remember for all of my lovely readers out there!!

Posted in Notes from Contessa | Leave a comment

It’s official, I’m a quilter.

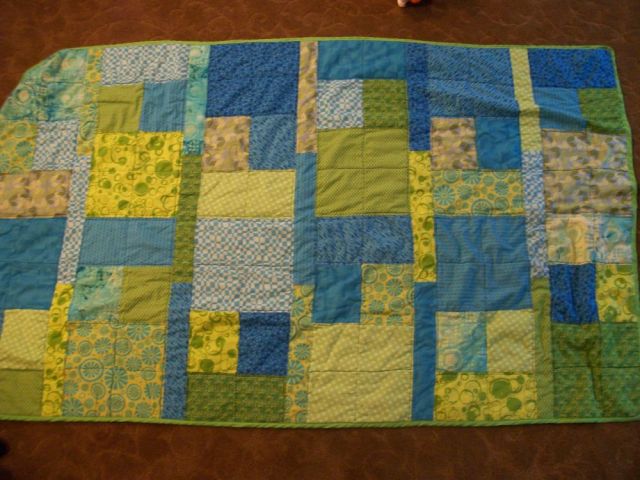
Jaden's quilt

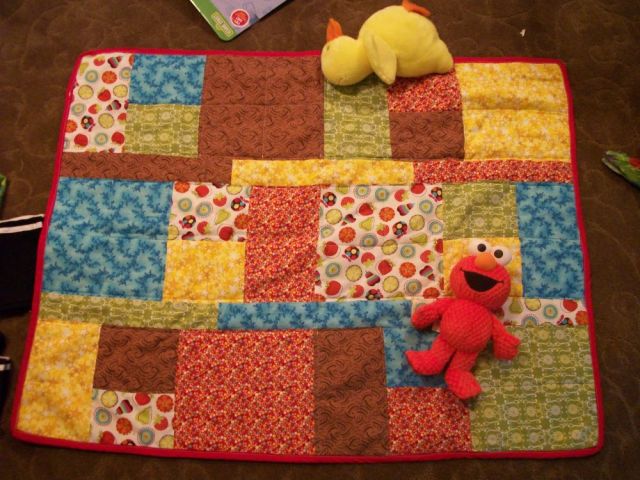
Just recently, I made my first two quilts for my niece and nephew’s birthdays. (So hard to believe they’re 1 and 6 already, where does the time go?) I found the pattern on Two Little Banshees a few months ago and I fell in LOVE! Only thing was, I was intimidated by the whole quilting process. I plucked up the courage and decided to go for it, and they turned out really nicely, besides the occasional minor bunching, it’s hardly noticeable by others, but it stands out like a sore thumb to me.

Lilly's Quilt

The fat quarters quilt is originally a crib-sized quilt, but I doubled it lengthwise to make Jaden’s quilt and it turned out to be a good size for a 6 year-old. I also used two different kinds of batting for each, I shopped the sale, and I must say, the fusible batting is nice, but a little tricky to work with.

Posted in Family Friendly Crafts | Tagged , , , , , | Leave a comment

The New Contessa Crafts

Hello, interwebs! Did ya miss me? I missed you! I’ve been itching to get back to my blog, but I just haven’t had the time with the farmer’s market and watching my niece and nephew so much. Anyways, I’m all yours now!

In my last attempt at blogging, I got burnt out because I was trying to do too much right off the bat-I had a different theme post every day and for a new blogger, it was far too much for me to just jump right into. Almost like trying to cram yourself into a pair of jeans that were just too small to fit and the more you try to fit into them, the more exhausted you get. The jeans are my blog. But this time, I’m taking it slow, doing things on my own time, and that means, I’m doing it right. Same me, new jeans.

I’ll still be bringing you craft tutorials, how-to’s and my favorite craft finds, but it will be far more organic, focusing on sewing and a few other crafts.

Join me, won’t you?

Posted in Notes from Contessa | Tagged , , , | Leave a comment

Don’t call it a comeback

Starting in October I’ll be revamping, renewing and actually *POSTING* again! I’ve been so busy busy busy with the farmer’s market and my darling niece and nephew this summer that I’ve really let the posting slip. But no more excuses! Plus, Mark Montano will kick my butt if I don’t! (He’s got it on his calendar and everything! True story :D) This time around, I will be focusing on my blog and etsy shop now that I’ve really discovered what I love to do-sew! I’ll be posting about much more than sewing, as well. Don’t worry, there will be something for everybody!

Posted in Notes from Contessa | Tagged , , | Leave a comment

Recipe: Chocolate Macarons

I was going to skip my posting this week to get ready for my farmers market that opens on Wednesday, but I found this recipe and was in awe at the simple little steps you can take to make the perfect macaron and I just had to share!!
I’m making these asap!

The original recipe can be found here.

Chocolate Macarons

Makes about fifteen cookies

Adapted from The Sweet Life in Paris (Broadway) by David Lebovitz

Macaron Batter
1 cup (100 gr) powdered sugar
½ cup powdered almonds (about 2 ounces, 50 gr, sliced almonds, pulverized)
3 tablespoons (25 gr) unsweetened Dutch-process cocoa powder
2 large egg whites, at room temperature
5 tablespoons (65 gr) granulated sugar

Chocolate Filling
½ cup (125 ml) heavy cream
2 teaspoons light corn syrup
4 ounces (120 gr) bittersweet or semisweet chocolate, finely chopped
1 tablespoon (15 gr) butter, cut into small pieces

Prune Filling
15 medium prunes (pitted), about 5 ounces (150 gr) prunes
2½ ounces (70 gr) best-quality milk chocolate, finely chopped
2 tablespoons Armagnac

Preheat oven to 350º F (180º C).

Line two baking sheets with parchment paper and have a pastry bag with a plain tip (about 1/2-inch, 2 cm) ready.

Grind together the powdered sugar with the almond powder and cocoa so there are no lumps; use a blender or food processor since almond meal that you buy isn’t quite fine enough.

In the bowl of a standing electric mixer, beat the egg whites until they begin to rise and hold their shape. While whipping, beat in the granulated sugar until very stiff and firm, about 2 minutes.

Carefully fold the dry ingredients, in two batches, into the beaten egg whites with a flexible rubber spatula. When the mixture is just smooth and there are no streaks of egg white, stop folding and scrape the batter into the pastry bag (standing the bag in a tall glass helps if you’re alone).

Pipe the batter on the parchment-lined baking sheets in 1-inch (3 cm) circles (about 1 tablespoon each of batter), evenly spaced one-inch (3 cm) apart.

Rap the baking sheet a few times firmly on the counter top to flatten the macarons, then bake them for 15-18 minutes. Let cool completely then remove from baking sheet.

To make the prune filling:

Cut the prunes into quarters and pour boiling water over them. Cover and let stand until the prunes are soft. Drain.

Squeeze most of the excess water from prunes and pass through a food mill or food processor.

Melt the milk chocolate and the Armagnac in a double boiler or microwave, stirring until smooth. Stir into the prune puree. Cool completely to room temperature (it will thicken when cool.)

To make the chocolate filling:

Heat the cream in a small saucepan with the corn syrup. When the cream just begins to boil at the edges, remove from heat and add the chopped chocolate. Let sit one minute, then stir until smooth. Stir in the pieces of butter. Let cool completely before using.

Assembly

Spread a bit of batter on the inside of the macarons then sandwich them together. (You can pipe the filling it, but I prefer to spread it by hand; it’s more fun, I think.)

I also tend to overfill them so you may or may not use all the filling.

Let them stand at least one day before serving, to meld the flavors.

Store in an airtight container for up to 5 days, or freeze. If you freeze them, defrost them in the unopened container, to avoid condensation which will make the macarons soggy.

Posted in Recipes | Tagged , , , , , , | Leave a comment

Make-it Monday: Plush Baby Toy

I recently had this idea after seeing these at baby stores. Babies love the crinkle sound and the ribbon tags keep them interested. If you want to, you can design your very own baby toy to help improve your baby’s eye and brain development by using different colors and patterns.

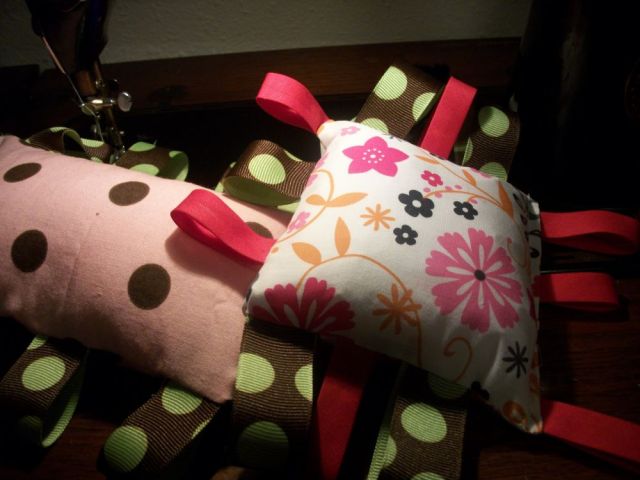
Lilly playing with the toy I made for her to keep her busy while her brother was swimming. And let me be the first to tell you I have the cutest niece and nephew on the planet.

What you’ll need:

  • Scrap Fabric
  • Thin Crinkly Plastic
  • Stuffing
  • Ribbon or Bias to Make Tags- You can use anything so long as it will not fray!
  • Sewing Machine or Needle and Thread.

Start by cutting out the shape you want out of your fabric and plastic. Also cut out the ribbon and bias for your tags.

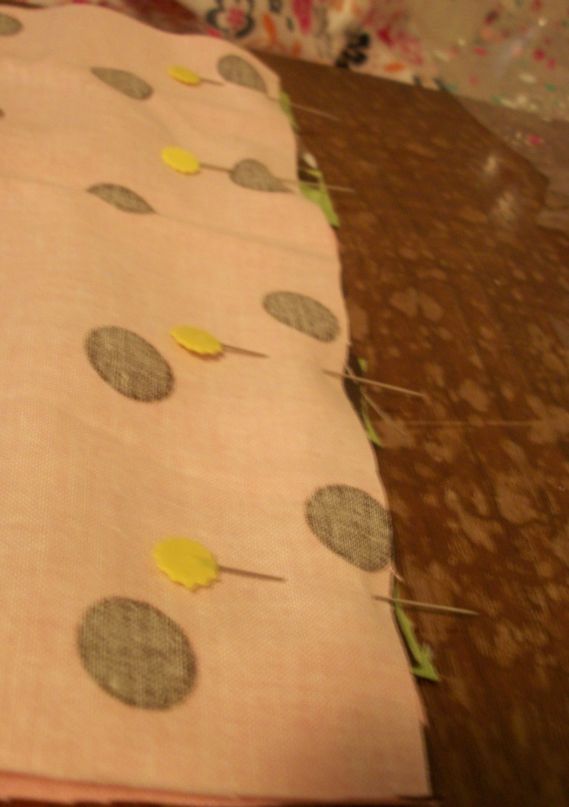
When you layer your fabrics to pin them, your layers should be optional crinkly plastic, fabric, ribbons, fabric, optional crinkly plastic.

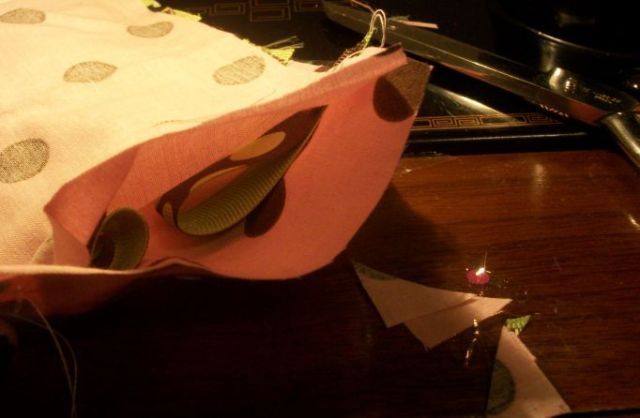
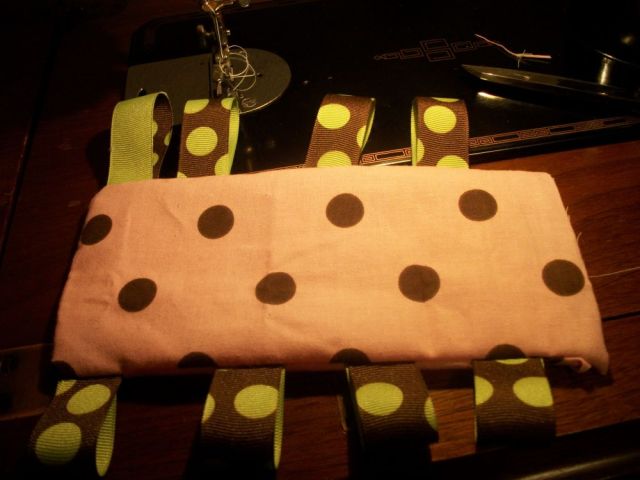
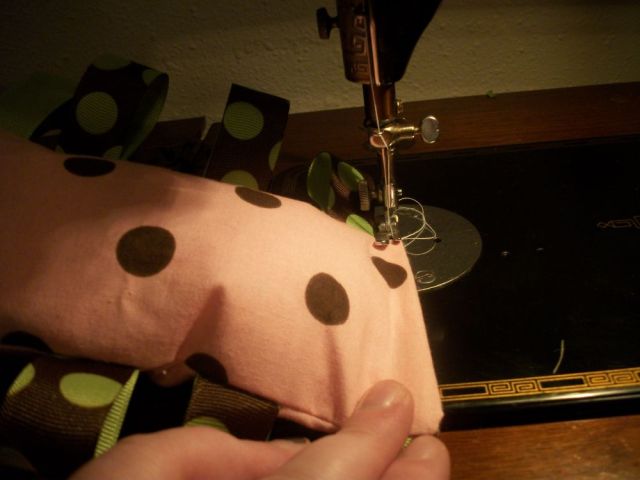
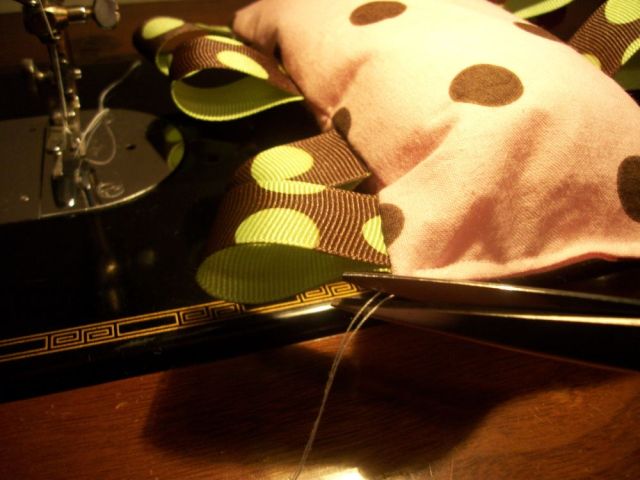
Make sure your ribbon loops are on the inside, so all your raw edges line up as shown. Sew only three sides and flip inside out.

My ribbons were reversible, and one got mixed up. Oopsies! Oh well, it’s still cute!

Stuff your toy and sew a top stitch along the open side.

Snip your thread tails.

I used some extra bias tape and ribbon on the next one I made and they’re both Lillyana approved!

If you’d like to design your toys to benefit your baby’s eye development, use a black and white bold patterned fabric, or any high contrast color combination, and red ribbon for your tags. The contrast in the colors helps baby’s brain development, that’s why a lot of baby things you see have a black and white checkered print on them.

Happy crafting!!

Posted in Make-it Monday | Tagged , , , , | 2 Comments

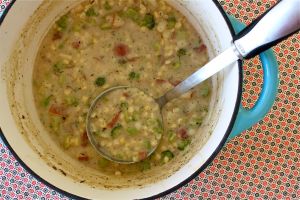
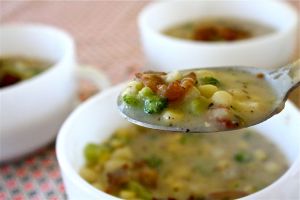
Recipe: Potato Broccoli (and Bacon) Soup

I was browsing MADE today and I found this fabulous recipe! It’s on the menu tonight! So, while I go search the kitchen for all the ingredients, I’ll leave you to get acquinted with today’s recipe-Potato and Broccoli with Bacon. **You can easily swap out lower fat turkey or soy bacon, vegetable broth and soy milk to make it low fat or even vegetarian!!**

POTATO BROCCOLI SOUP

Serves 4 adults

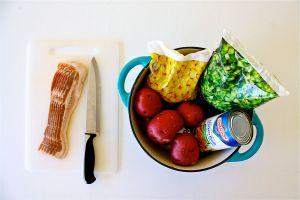
6 slices bacon, cut into 1-inch pieces
1/3 cup flour (if soup is too runny when you’re done, add more flour to a small amount of water and then add to the soup)
2 cans (14 oz each) reduced-sodium chicken broth
3-4 medium-sized Red potatoes (diced into small cubes)
1 1/2 cups frozen corn kernels (sweet white corn is best)
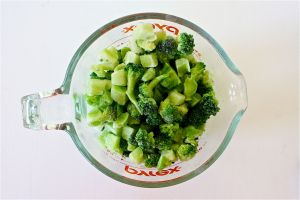
1 1/2 cups frozen Broccoli cuts (you may substitute fresh zucchini cute into small cubes)
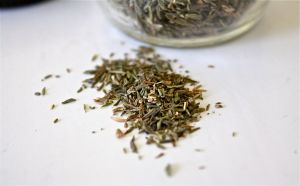
1/2 tsp dried Thyme
1 cup low-fat or skim milk
salt and ground pepper, to taste


Cut 6 strips of bacon* into 1 inch pieces. Use whatever brand and type you like best. I prefer maple.

*If you’re vegetarian, omit the bacon and use Butter in place of grease.

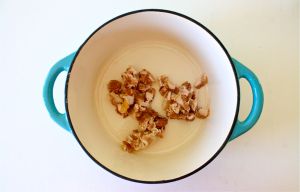
Place the pieces in a dutch oven or large pot and cook until the bacon is crispy.

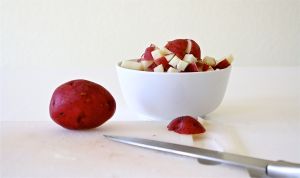
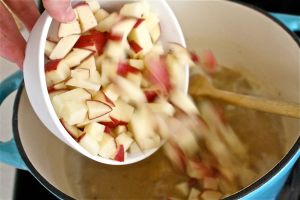
While the bacon cooks, wash each potato and dice into small cubes (leave the peels on).
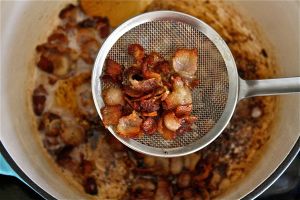
When the bacon is crispy (don’t let it burn), remove the pieces with a slotted spoon or strainer. This is my favorite little tool. Place the bacon on paper towel-covered plate to cool.

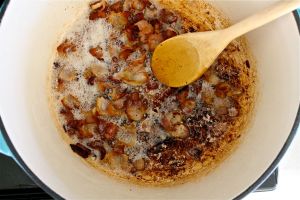
To make a roux for the soup (a flour/fat base that provides thickness to your soup), you will use 2 Tablespoons of the bacon grease*. This doesn’t need to be exact so if it looks like there’s 2 Tbls in the pot, great. If there’s too much, dump all the grease out of the pot into a glass bowl and spoon 2 Tbls back into the pot.
* If you’re vegetarian, use 2 Tbls of butter instead of bacon grease

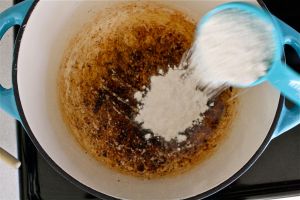
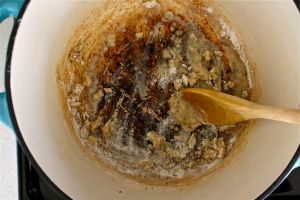
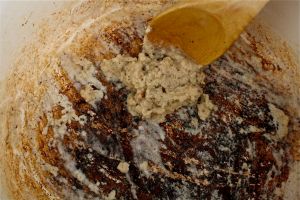
Add 1/3 cup of flour and stir for 30 seconds to 1 minute till the grease is soaked up and forms a ball…or roux.

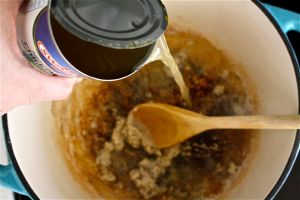
Next, add 2 cans (or one large 32 oz box) of Chicken Broth*. I prefer using (1) reduced-sodium can and (1) regular can. This creates a nice salt balance in the soup.
* If you are vegetarian, substitute Vegetable Broth

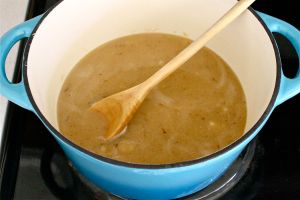
Pour the broth into the sizzling pan and watch it deglaze the remaining bacon bits on the pan.

As the soup cooks, the rue will blend in and should not leave any lumps.

Add the potatoes.

Bring everything to a boil and cook till the potatoes are tender (about 10 minutes). Stir fairly often, as the potatoes have a tendency to stick on the bottom.

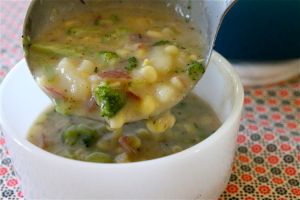
When the potatoes are cooked, add the broccoli and corn (zucchini can be substituted for broccoli. I’ve done both and they’re both delicious)

Add 1 cup of milk,

1/2 tsp of thyme, and salt and pepper to taste. Bring back to a boil–stirring periodically–and cook for a few minutes.

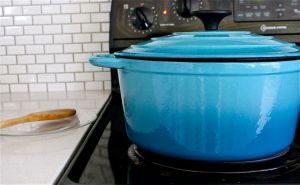
Allow the soup to sit for a five minutes before serving.

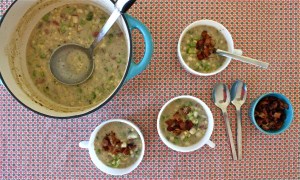
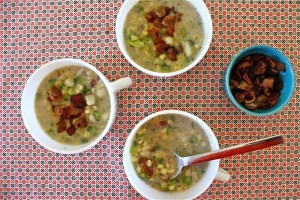
Then dish it up and sprinkle bacon bits on top.

Of course soup is even better with a slice of warm bread….

Enjoy!

Posted in Recipes | Tagged , , , , , | Leave a comment